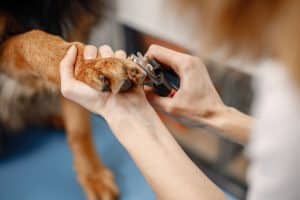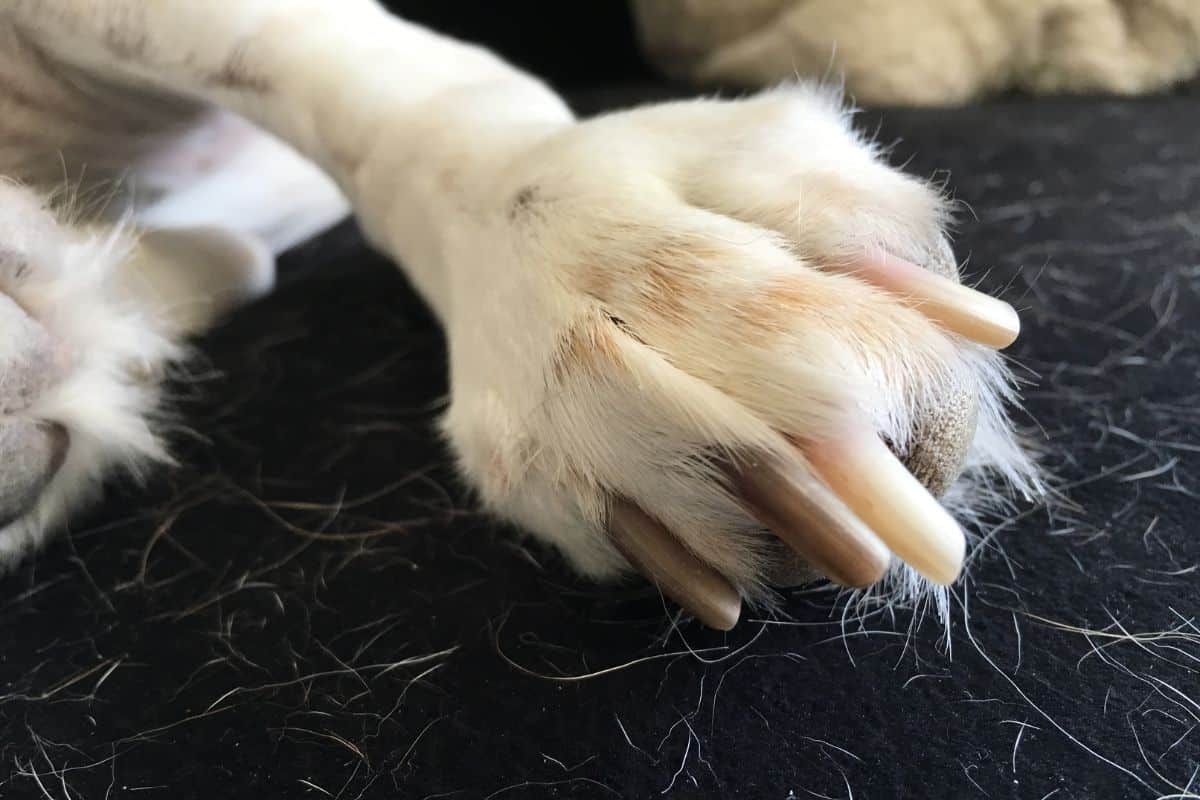
Depending on the dog you have, clipping nails is either smooth sailing or a total nightmare.
Some dogs don’t have an issue with their owners or even strangers touching their paws and snipping away at their claws. Others, however, become aggressive, scared, or even play dead.
Truth is, whether you clip your dog’s claws yourself or take them to the parlour, it can be a pain to deal with.
You might be wondering if there’s an easier way to get the job done – one that doesn’t involve any clippers at all. The answer? There is!
A dog nail scratchboard could be exactly what you’re looking for if you (and your dog) hate the process of clipping nails. You could buy a nail scratchboard that gets the job done, or you could save a bit of money and make your own.
All you need are a few basic materials and items that you can pick up at your local hardware shop. It takes less than 10 minutes to make, too! No Amazon delivery could beat that time, right?
Ready to learn how to build a dog nail scratchboard? Let’s dive into what you need to know.
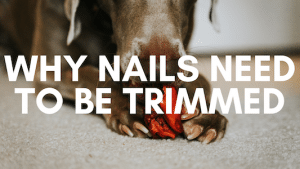
Scratchboards work very well for dogs, as it is a quick and easy way for your dog to file their nails down in seconds. You don’t have to struggle with them for a simple nail trimming every month!
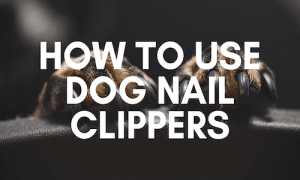
How To Build A Dog Nail Scratchboard
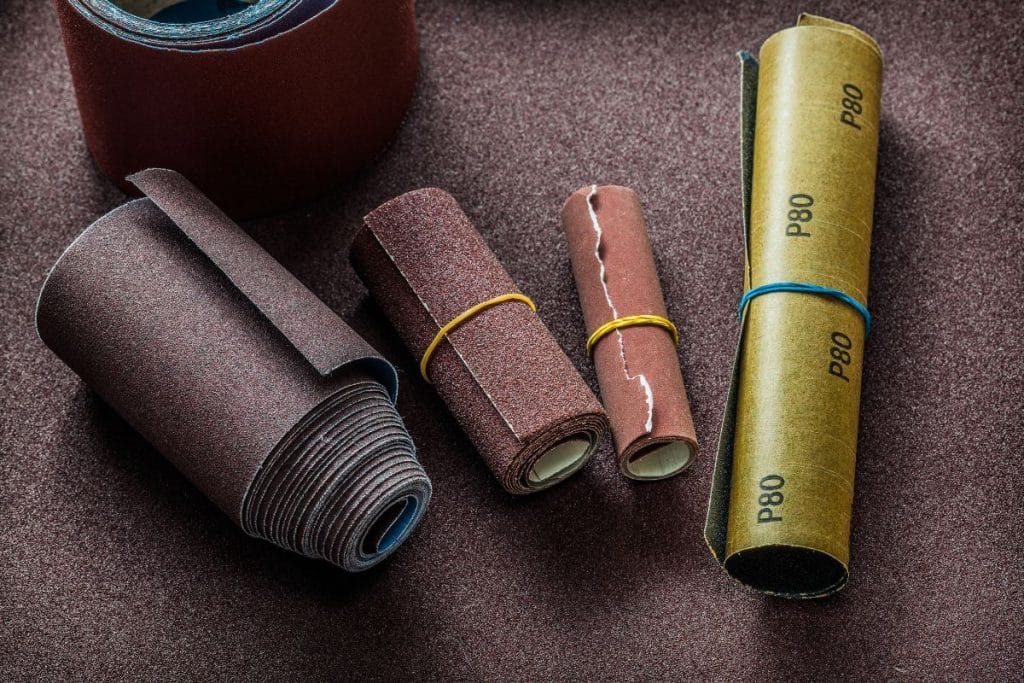
To build this dog nail scratchboard, you only need three simple things – sandpaper, staples, and a block of wood.
You’ll need a decently sized block of wood to attach the sandpaper to, so think of what would be appropriate for the size of dog you have.
If you head over to the tip, chances are there will be blocks of wood that will just be thrown away, so you can save time and money!
The Building Process
Get your block of wood and simply staple your sandpaper around the front, back, and sides. It’s crucial that you make sure that the staples are flat on the board and out of the way of your dog’s claws.
It would be very easy for your dog to catch their nail on a staple that’s sticking out!
When you need to change your sandpaper, you can simply staple the new sandpaper over the old, or rip the old off and staple it on. It’s a really easy process!
Consider the size of your dog when you’re picking out the wooden block to use. Small dogs probably only need about a foot of space to work with, a medium dog two feet, and a large dog three feet.
All you need to do to staple the sandpaper to the block of wood is this:
- Get the correct grit sandpaper and make sure it is the right size for the block of wood you are going to use
- Get enough sandpaper to fold over the edges of the block of wood if you can, so the surface has no nails at all. This might not always be possible.
- Get your staple gun, line up the edges, and staple the sandpaper to the block of wood
- Double-check to make sure that the staples are flat, and that the sandpaper is taught, so your dog can easily use it.
- That’s all there is to it!
To build a dog nail scratchboard, you need to staple the appropriate grit sandpaper to a black of wood, covering all sides. When the sandpaper gets worn down, you can just staple more over the old paper, and your dog can file their nails easily again.
Dog Nail Scratchboard Safety Precautions
When Making
When making the scratchboard, you should ideally wear gloves to protect yourself from the rough sandpaper. It would also be beneficial to ensure that you are not wearing clothing that could get in the way of the tools.
Be careful when using the staple gun to secure the sandpaper, too, and keep clothes, fingers, and anything else out of the way.
Do not try to use the staple gun on metal – only on the wood and sandpaper that you are using.
Be sure to keep loose clothing and hair out of the way when using a staple gun, and make sure that you use gloves when handing the rough sandpaper. Only use the staple gun on the sandpaper and wood, nothing metal.
When Using
Once the scratchboard has been made, make sure to only leave it where your dog can get it when you want them to use it.
It isn’t a toy, and a dog might hurt themselves if it gets left out for them to play with. That can be as a result of the sandpaper itself, or a staple that has come loose.
When in use, your dog should only spend a minute, or even less, using the board. This should be ample time for them to file their nails down once they learn how to use the board properly.
Any longer and they could hurt their paws on the sandpaper.
Keep the scratchboard away from your animals when you don’t want them to use it, or they could overuse it and injure themselves. You should also time how long you need your dog to use the scratchboard, as too much use can hurt their paws.
Maintaining The Scratchboard
The sandpaper on your dog nail scratchboard should be changed every few months – when you can see that it isn’t working as well as it should.
This should be fairly obvious, as it will look different, and your dog’s nails won’t be filing down how they used to.
You should check your scratchboard to ensure that the staples have not come out or got loose. If they have, you can simply hammer them back in, or pull them out and use the staple gun to secure it down again.
The dog nail scratchboard should get new sandpaper every new months when you notice that it isn’t working as well as it used to. You should also check to ensure that the staples on the board are flat, and not getting in the way of your dog when they are using the board.
Why Would You Want To Make This?
A dog nail scratchboard is a quick and easy way for your dog to file down their claws without having to go near a pair of clippers.
A lot of dogs either hate getting their claws cut because of a bad experience, or they’re just nervous animals. Whichever it is, using a nail scratchboard makes everyone’s lives easier, and you could save money in the long run!
These scratchboards are used to file your dog’s nails down on their front paws. Of course, you will need to train your pet to use it, but this isn’t too much of an issue for most dogs.
Like any kind of training, you just need some patience and a good reward system.
You can also train your dog to file the claws on their back paws, but that could be a bit more challenging.
When you train your dog to use the scratchboard, they will start with one paw at a time. Eventually, they can learn to file their nails on both front paws at the same time.
This will be done in a digging style, which means the process won’t only be quick, but it will be fun for the dog, too!
Having a dog nail scratchboard can help you save time trimming your dog’s claws, or save money, so you don’t have to get someone else to do it for you. It’s quick and easy, and makes yours and your dog’s life a bit easier.
What About The Nails On The Back Feet?
Teaching your dog to file the nails on their back feet can be done with some time, but it isn’t totally necessary. The majority of dogs who get enough exercise will naturally wear down their back claws, especially on concrete or running around.
Again, you can teach your dog to file their back claws, but you don’t always need to. Take a look at your dog’s back nails and decide for yourself what the best course of action is.
Dogs will usually file the nails on their back feet naturally through exercise. This means that it isn’t necessary to teach your dog how to file their back claws on the dog nail scratchboard.
Make Sure The Sandpaper Suits Your Dog’s Size
For the sandpaper, the grit you choose will depend on the dog you have. Generally, the grit will be based on the size of your dog’s paws.
During the learning phase, it’s best to use 80 grit sandpaper, as it’s a bit more gentle. If you have a small dog (under 10 lbs), 10 grit sandpaper is all you need, so you don’t need to go any further.
A dog that is between 10-25 lbs can gradually be introduced to medium (40 grit) sandpaper once they learn how to properly use the scratchboard. Large dogs (over 25 lbs) will eventually use 30 grit sandpaper.
Use a sandpaper grit of 80 for small dogs under 10lbs, 40 (medium) for mid-sized dogs that weigh between 10–25 lbs, and 30 grit for dogs over 25 lbs. This will prevent your dog from hurting itself when using the sandpaper to file their claws down.
Teaching Your Dog To File Their Claws
It’s important to teach your dog to only file their claws, or else they will hurt their paw pads. This is why we start with 80 grit. This process could take some time, so you need to have patience.
Only when they get it right, should you introduce the grit with lower numbers (coarse grit). When they get the hang of it, dogs that use the more coarse sandpaper will file their nails down in a couple of seconds!
Training your dog how to use their new scratchboard may take some time, but the effort it worth it. To can learn the step-by-step process for how to train your dog to use the scratchboard here.
Final Thoughts
Building a dog nail scratchboard is so quick and easy, but also very rewarding. It can save a lot of time and money, as well as stress! Chances are, your dog will love it once they get the hang of it, too.
So, if you have a dog that hates getting their claws clipped, make this for them and teach them how to use it!
Frequently Asked Questions
What Grit Sandpaper Should You Use For A Dog Nail Scratchboard?
Use a sandpaper grit of 80 for small dogs under 10lbs, 40 (medium) for mid-sized dogs that weigh between 10–25 lbs, and 30 grit for dogs over 25 lbs.
Do You Need To Maintain Your Dog Nail Scratchboard?
They don’t need to be maintained, but they should be checked to make sure that the sandpaper is still doing the job. You should also make sure that the staples are not getting in the way at any point and are still secure.