Treat dispensers are one way to keep your doggos entertained and mentally stimulated. It helps keep their mind sharp while rewarding them with tasty treats.
But, buying these dispensers from pet stores can be expensive, and not all of them are durable enough to withstand your dog’s active playtime. Although, if you have the time, it’s easy to make your own with a few simple materials you may already have at home.
If you’re interested, here’s a list of the materials you’ll need to make a simple treating dispenser: plastic bottle, scissors, marker, hole punch, sandpaper, and treats. And also, optional materials such as duct tape, paint, stickers, and ribbons to customise the dispenser and make it more attractive.
Note: You can use a plastic bottle of any size, but choosing one that’s durable and can withstand your dog’s chewing and biting is important. A 500ml bottle should work well for most dogs.
Steps for DIY Dog Treat Dispenser
Once you’ve gathered all the materials, you can start making your own dispenser for your furry friend.
Step 1: Cut the PVC pipe.
Use a saw or a PVC pipe cutter to cut the pipe into two pieces. One should be approximately 6 inches long, and the other should be around 3 inches long.
Step 2: Drill holes in the PVC pipe.
Take the 6-inch PVC pipe and drill small holes around the entire circumference of one end. These holes will allow your dog to smell the treats inside the dispenser.
Step 3: Glue the cap onto the 6-inch PVC pipe.
Take one of the end caps and glue it securely onto the end of the 6-inch PVC pipe with the holes. Ensure the cap is tightly sealed to prevent any treats from falling out.
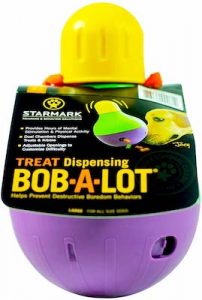
Read More: Beginner’s Guide to Best Treat Dispensing Dog Toys!
Step 4: Add the treats.
Place some treats into the PVC pipe through the open end. Make sure to choose treats that are small enough to fit through the holes but not too small that they fall out too easily.
Step 5: Glue the cap onto the 3-inch PVC pipe.
Take the other end cap and glue it onto the end of the 3-inch PVC pipe. This will be the base of your treating dispenser.
Step 6: Connect the two pieces.
Insert the longer PVC pipe with the treats inside into the base pipe. Ensure the two pipes are firmly connected but still allow for movement.
Step 7: Test the dispenser.
Gently shake the dispenser to ensure the treats move freely through the holes. You may need to adjust the size and number of holes to allow for easier treat dispensing.
Step 8: Customise the dispenser.
You can customise the dispenser to suit your dog’s preferences by adding decorations or painting it with non-toxic paint. You can also adjust the holes’ size or the PVC pipes’ length to create a more challenging or easier dispenser.
Tips for customising the dispenser:
- For more of a challenge, make the holes smaller or add more of them
- For an easier dispenser, make the holes larger or add fewer of them
- You can also adjust the length of the PVC pipes to create a longer or shorter dispenser
Why should you use a homemade treat dispenser?
1. It’s cost-effective.
If you use them frequently, pre-made dispensers can be expensive and add up over time. You can save money in the long run by making your own dispenser.
2. It’s more eco-friendly.
Another advantage of making your own treating dispenser is using recyclable materials, making it an environmentally-friendly option.
Store-bought dispensers are often made from plastic, which is not biodegradable and can take hundreds of years to decompose in landfills.
3. It’s a fun DIY project for yourself.
Making a treating dispenser can be a fun DIY project for pet owners. It allows you to customise the dispenser according to your dog’s preferences. You can use different colours, shapes, and sizes to make the dispenser unique and fun for your dog.
Read More: Best Dog Treat Bags / Pouches You Can Buy in the UK 2023
Precautions While Using a Dog Treat Dispenser
A treat / food dispenser is a great tool for stimulating a dog’s mind and providing an interactive treat experience. However, as with any pet product, it’s important to take precautions to ensure their safety.
1. Choose the appropriate size and type of treat.
If the treats are too large or hard, they may become stuck in the dispenser or pose a choking hazard for your dog. Alternatively, treats that are too small may need to be more challenging for your dog, and they may lose interest in using the dispenser.
You must also consider the nutritional content of the treats you choose. You may think you’re only rewarding your dog, but it should still be used in moderation and as part of a balanced diet.
2. Monitor your dog carefully.
Some dogs may become overly excited or aggressive when trying to get the treats out of the dispenser, which could lead to accidents or injuries.
Keep an eye on your dog while using the dispenser, and intervene if necessary to prevent unsafe behaviour.
3. Clean the dispenser regularly to prevent bacterial growth.
Just like any other pet product, treating dispensers can become dirty and harbour bacteria if not cleaned regularly. Make sure to clean the dispenser after each use, using warm water and soap to remove any leftover treats or debris.
How do I clean the treat dispenser?
- Disassemble it into its parts before cleaning. This will make it easier to clean each piece thoroughly.
- Place the parts of the dispenser in a bowl of warm soapy water. Use a mild detergent that is safe for your pet to avoid adverse reactions. Leave the parts to soak for around 10-15 minutes.
- After soaking, use a soft brush to scrub the individual parts of the dispenser thoroughly. This will help to remove any remaining dirt or debris. Be sure to scrub every nook and cranny of the dispenser, including hard-to-reach areas.
- Once you’ve finished scrubbing, rinse each part of the dispenser under warm running water. Ensure that all the soap has been rinsed away to avoid any residue.
- Use a clean towel to dry each part thoroughly. Avoid leaving any moisture, as this can lead to bacterial growth. If you have a dishwasher, you can also put the parts in it and set them to the appropriate temperature for cleaning.
- Once everything is dry, you can put the dispenser back together again.
When cleaning the dispenser, paying attention to any signs of wear and tear is essential.
If you notice any cracks or damage to the dispenser, it may be time to replace it. You should also avoid using harsh chemicals or cleaning agents that could harm your dog.
Read More: What is a Furbo? Can it dispense treats? Is it effective?
Frequently Asked Questions (FAQs)
1. What kind of treats can I use in the dispenser?
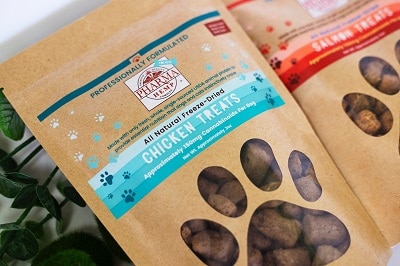
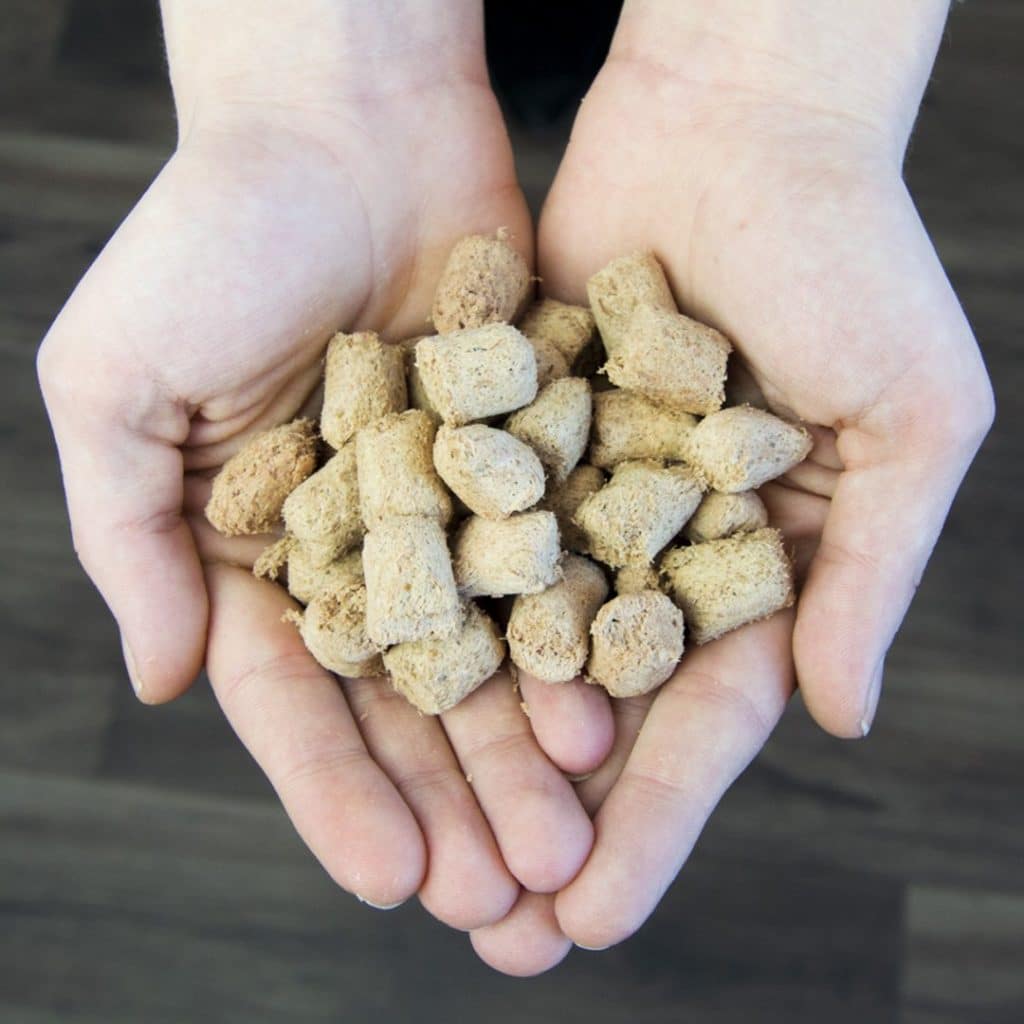
Ideal treats for dog treat dispensers are smaller and softer, such as kibble, soft dog treats, or small pieces of fruits and vegetables. Avoid using too large, hard, or sticky treats, as these can cause problems with the dispenser or make it difficult for your dog to access them.
Also, consider using healthy and nutritious treats to supplement your dog’s diet and promote its overall health.
Note: Always check with your vet if you have concerns about your dog’s diet or if they have any dietary restrictions.
2. How do I train my dog to use the treat dispenser?
Training your dog to use a treat dispenser can be a fun and rewarding experience.
- Introduce the dispenser to your dog and let them sniff it. Encourage them to interact with it and figure out how it works.
- Once they’re comfortable with the dispenser, demonstrate how to use it by putting a treat inside and pushing it through it.
- To make the training more effective, use high-value treats your dog loves.
- If your dispenser has adjustable settings, start with an easy level to make it easier for your dog to get the treats out. You can increase the difficulty level as they get better at using the dispenser.
- When your dog successfully uses the dispenser, praise and reward them with additional treats or other positive reinforcement.
- Training takes time and patience. Be consistent in your training and practice regularly with your dog.
3. Can I leave my dog unsupervised with the treat dispenser?
Leaving your dog unsupervised with the treat dispenser is not recommended, especially when they’re new to the whole experience.
While the dispenser is a fun and interactive way to provide treats, there is a risk of your dog accidentally consuming too many treats or trying to chew on the dispenser itself, which can lead to choking hazards or digestive issues.
Start by supervising your dog during the first few times they use the dispenser to ensure they use it properly and safely. Once they become familiar with the dispenser, you can gradually increase their time using it and supervise them from a distance.
4. Can I make a treat dispenser for multiple dogs?
In general, you can make a treat dispenser for multiple dogs. However, you must ensure that each dog has their designated area to prevent conflicts or competition over the dispenser. Supervising is also important to ensure that each dog gets their fair share of treats.